Installing Pyload
Pyload
Pyload is a free and Open Source download manager written in Python and designed to be extremely lightweight, easily extensible and fully manageable via web.
You can find its website here
Setup
Organizing files
First off we create a directory Pyload on our system.
mkdir Pyload
Inside this directory we create a file named docker-compose.yml
touch docker-compose.yml
Organizing mounts
Pyload will need a place to drop its download. By default Pyload will place the downloads in /opt/pyload/Downloads inside the container.
Which means that once the container is deleted, the downloads disappear with it.
Of course you should mount a directory to /opt/pyload/Downloads so that when Pyload downloads the files, they really go the mounted directory.
Here we will map our NAS download directory ~/NAS/Downloads.
Setting up the IP address
I chose to reserve the IP address 10.0.6.11 for Pyload.
To do so, I went into my router DHCP dashboard and set a static DHCP address.
The rule maps the MAC address 02:42:0A:00:06:0B to the IP address 10.0.6.11
and also sets the hostname to PYLOAD.
Docker-compose
Here is the content of the docker-compose file
version: '2.2'
services:
  web:
    container_name: 'pyload'
    image: 'writl/pyload:latest'
    hostname: 'pyload'
    restart: unless-stopped
    environment:
      - PUID=1000
      - PGID=1004
    ports:
      - '80:80'
      - '443:443'
    volumes:
      - '../NAS/Downloads:/opt/pyload/Downloads'
      - './config:/opt/pyload/pyload-config'
    networks:
      host-macvlan-net:
        ipv4_address: 10.0.6.11
networks:
  host-macvlan-net:
    external:
      name: host-macvlan-net
As you can see in the docker-compose file we have two volume mappings.
- ’../NAS/Downloads:/opt/pyload/Downloads’ maps the pyload download directory to our NAS download directory
- ’./config:/opt/pyload/pyload-config’ maps the pyload config directory to a directory on our system called
config.
Pyload configuration
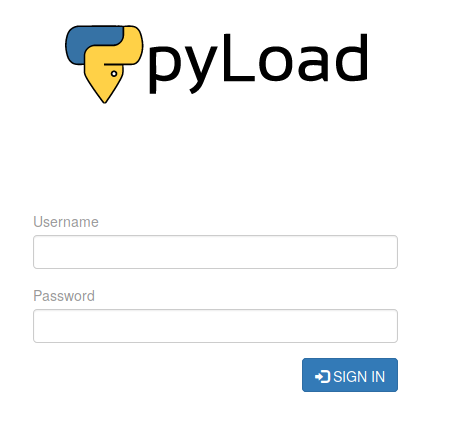
Navigate to http://10.0.6.11 or http://pyload to access the Pyload login page.
Use the default credentials to login :
- username = pyload
- password = pyload
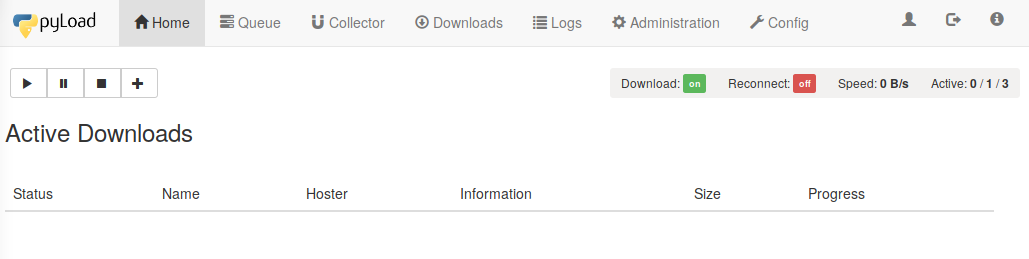
The home screen looks like this with the UI “Modern”.
You can change the home screen by going in Config > General > WebInterface and
changing Template.
You can add a download account by going in Config > Accounts.
If you are using Alldebrid, you might have some issues downloading.
To solve this, go to Config > Plugins > XFileSharing, find the Activated
option and set it to No (don’t forget to submit).
Backup script
#!/bin/zsh
#
#This script backs up the pyload config
#It must be executed by the root user to work properly
#
CONFIG_DIR=/home/braincoke/Pyload/config
SHARED_BACKUP_DIR=/home/braincoke/backup/Pyload
NEW_BACKUP_NAME=$(echo -n "$(date +%s)_$(date -I | tr - _)")
NEW_BACKUP_DIR="$SHARED_BACKUP_DIR/$NEW_BACKUP_NAME"


# Create a new directory on the shared folder
echo "Creating new directory $NEW_BACKUP_DIR"
mkdir -p $NEW_BACKUP_DIR
# Backup the config dir
echo "Backing up Pyload config..."
cp -r $CONFIG_DIR $NEW_BACKUP_DIR

# Create tar from backed up directories
echo "Creating tar file"
tar -cvzf "$NEW_BACKUP_DIR.tar" -C "$NEW_BACKUP_DIR" .

rm -r "$NEW_BACKUP_DIR"

echo "Pyload backup finished"